 English
Orchestration #
Orchestration is defined as everything related to the planning, prioritization, and delivery of campaign communications.
Planning #
Planning shows all the active campaigns as of the current date. For better visualization, it includes a timeline for each configured channel, the corresponding scheduled communications, and the days when they have been sent.
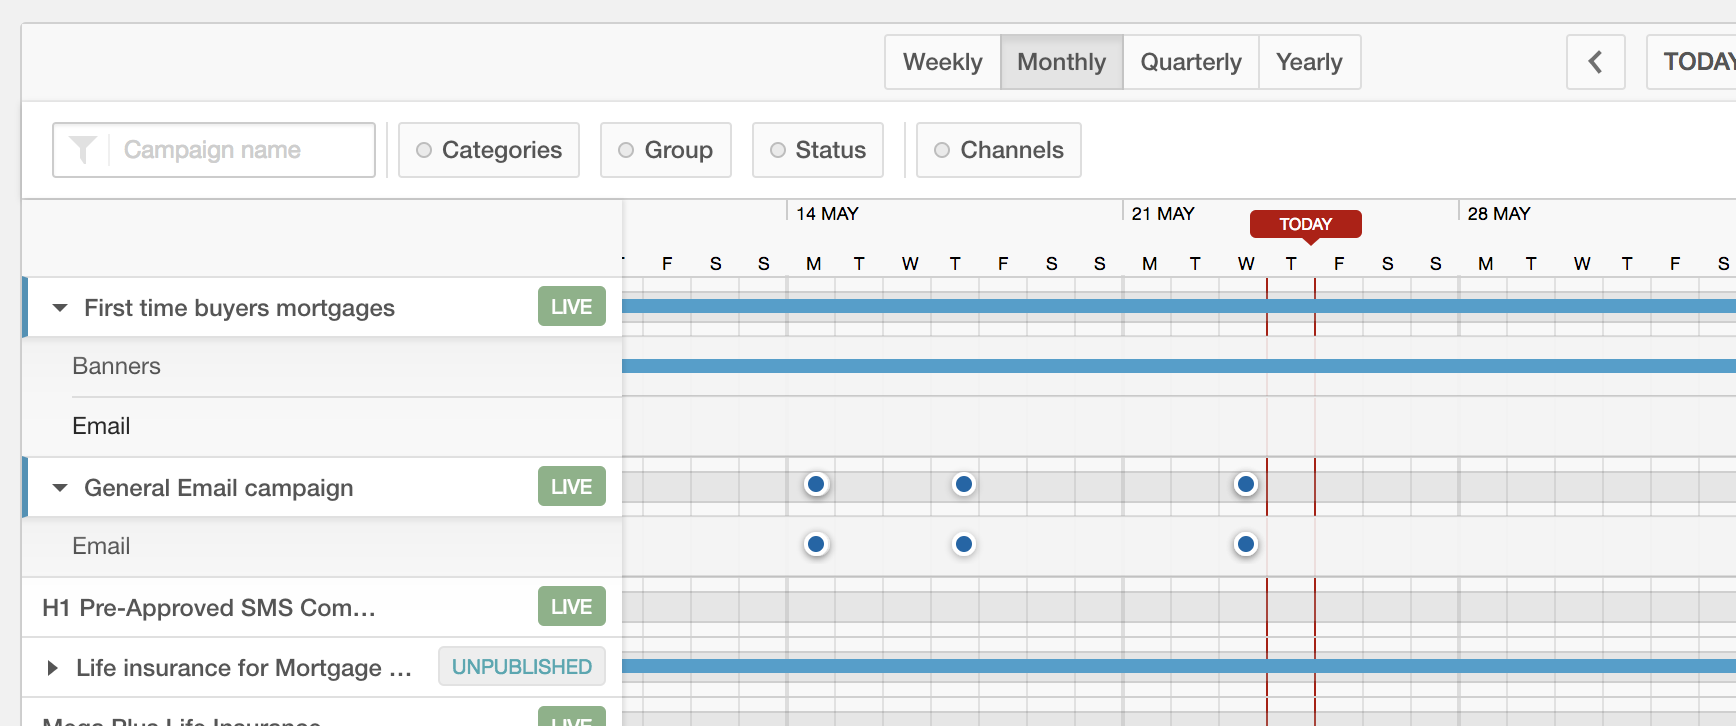
This timeline allows you to view in a single section the different communications that campaigns are running in parallel. Altering the granularity of the time period (Weekly, Monthly, Quarterly, Yearly) will result in more or less detail of the channels and communications scheduled.
If we look at the list, each campaign can be expanded (and collapsed) to show the channels that are enabled at the moment, providing the possibility to add, edit or delete communication instances between the start and end dates of the campaign. For example, First time buyers mortgages uses two channels (Banners and Email), whereas the General Email campaign only utilizes one (Email).
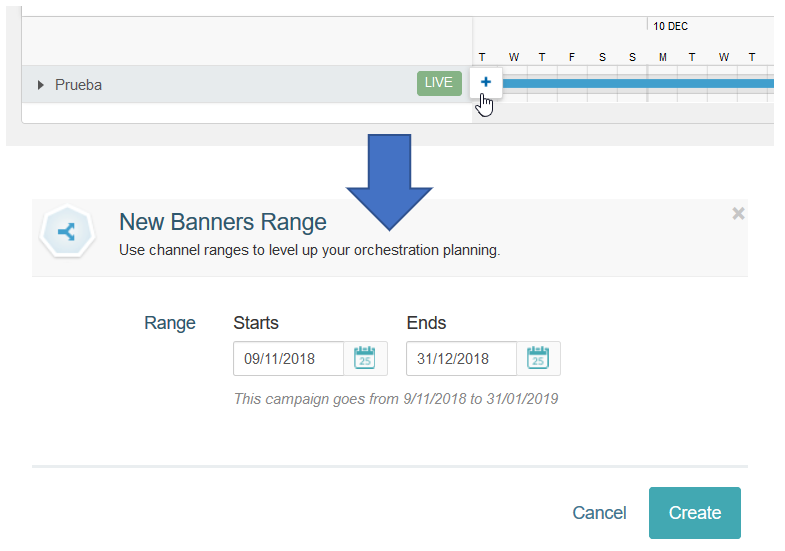
For campaigns that use banners and/or pop-up windows, communication instances can be separated into ranges. This allows you to display (or not) a given communication even when the campaign is live. For example, if we consider a campaign that uses Banners and runs from November 9, 2018, through January 31, 2019, we can choose to display the communications up until December 31, 2018, by adding a new range as shown below. Thus, the banner will not be shown during the month of January although the campaign is still active.
You can leverage ranges by using them to display communications through separate channels in different time windows. For example, you may want to display a banner on the home page during the first week, and a pop-up window in the operations section in the next.
Although each campaign is initialized with a range that goes from its start date through its end date, there are no limits to the number of ranges that you can create. It is important to note that, in case the duration of the campaign is extended, the display range is not expanded automatically.
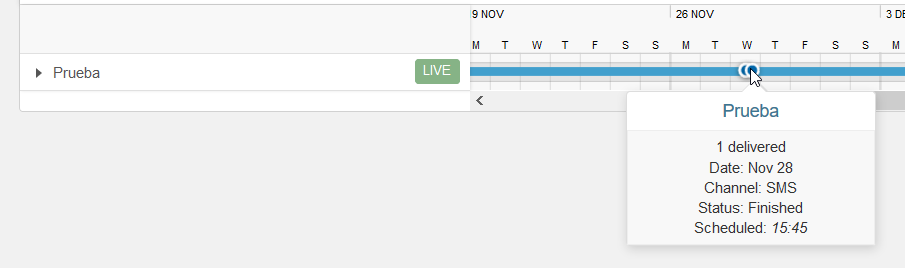
When Email, SMS, or Push notifications channels are enabled, communications are registered as blasts and are displayed as dots on the timeline. By clicking on each blast, you can see more details (number of delivered messages, date, channel, status, and originally scheduled date). To illustrate, let us examine a blast of the campaign called Prueba that was executed on November 28 at 15:45 (3:45 pm) and resulted in a message being sent through SMS:
Scheduling #
Scheduling allows you to specify which campaigns will be sent out, when, and through which channel. Also, it is possible to define recurring messages (and the associated frequency) or not, using the Schedule blast button. As we can see in the below image, we can indicate when the outgoing communication will be sent: as soon as possible, or at a specific date and time.
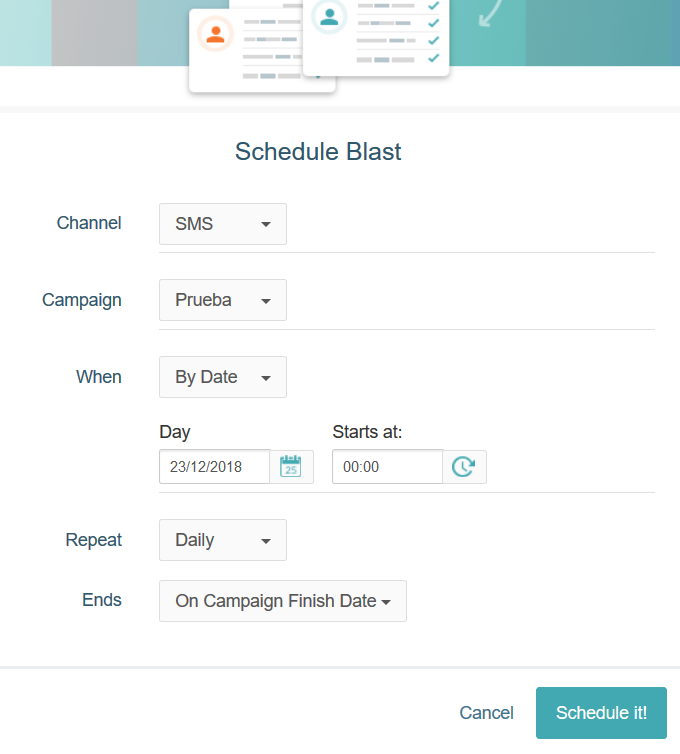
In the example above, a communication is being defined for a campaign named New Mortgages Offers starting on February 10, 2026, until its end date (On Campaign Finish Date) through the email channel on a weekly basis. The other available option to complete the end date is to enter it manually, as with the start date.
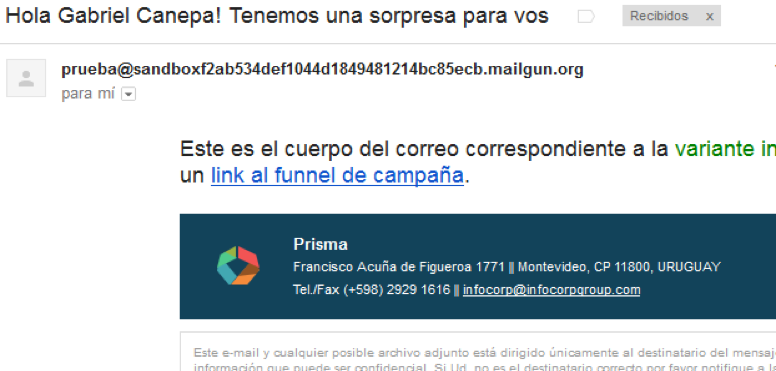
After clicking on the Schedule it! button, the communication will become scheduled. Once it is sent, we should receive the communication that was configured as explained in Chapter 4 Campaigns (refer to the section Creating and configuring the outgoing e-mail content). For example, if you configured a campaign to use Email, you can expect a message like the one in the below image.
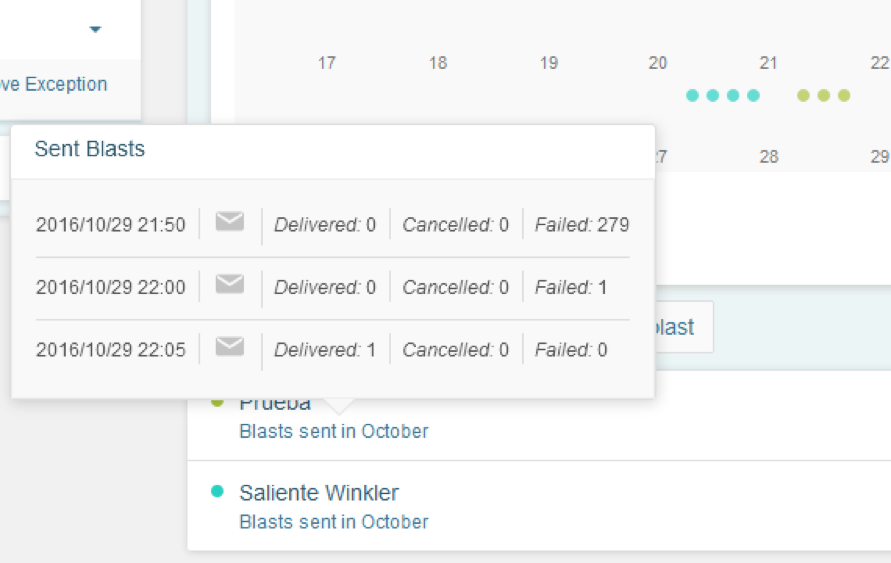
The calendar uses different colors to characterize campaigns, to indicate if they are recurring or not, and to display their status (scheduled, sending, completed, or terminated). Additionally, by clicking on Blasts sent in October (assuming that is the current month), a summary of all communications sent during that period will be shown:
Split Blasts #
Split Blasts allow you to divide a single campaign send into several smaller, independent blasts called splits. This is particularly useful for avoiding operational bottlenecks, such as overwhelming a call center with a sudden surge of customer inquiries.
How it works #
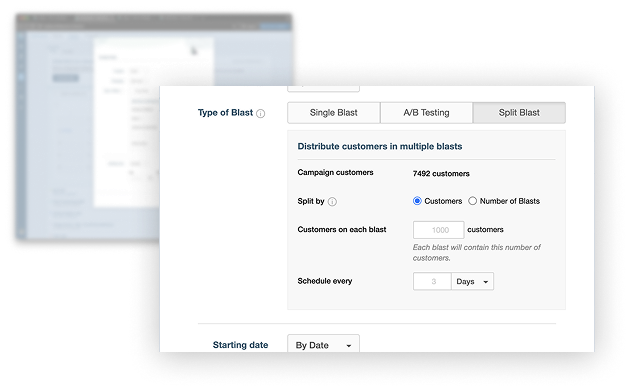
You can configure a split blast in two ways:
- By number of splits: Define the total number of independent blasts to be created.
- By maximum contacts: Specify the maximum number of customers in each individual split.
Each split can be scheduled with a custom frequency, separated by minutes, hours, or days.
Split blasts are only available for outbound campaigns (Email, SMS, and Push notifications).
Note: Unlike regular blasts, split blasts evaluate and build the segments at the time the sequence is scheduled and split, not at the time of each individual execution.
In Practice #
Instead of sending 100,000 emails at once, you could schedule four splits of 25,000 emails each, aligned to staffing and processing capacity to keep service levels steady.
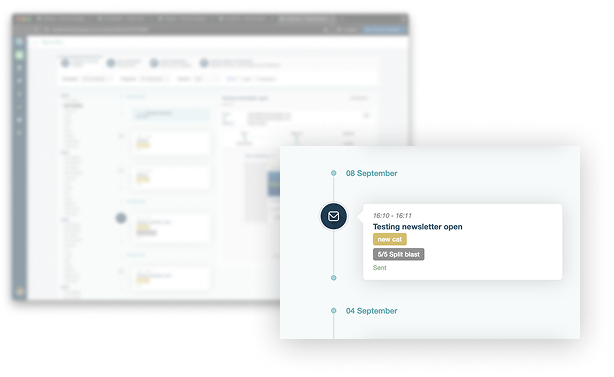
In the Calendar tab, each split is displayed as an independent event, allowing you to monitor or cancel them individually. However, canceling one split blast in a sequence will also cancel all subsequent blasts in that series.
A/B Testing #
A/B testing allows you to compare two or more variants of a campaign communication to determine which one performs best based on key metrics such as click rate, open rate, or conversion.
Setting Up A/B Testing #
A/B testing can be enabled for the Email, SMS, and Push Notifications channels, as well as Banners. To activate it, open the corresponding channel in the campaign editor and turn on the A/B Testing switch. Then, click Add A/B variant to add one or more variants. Each variant appears in its own tab for independent editing.
For banners, enable the multi-variant switch for a given placeholder and activate the desired versions individually.
Scheduling an A/B Test Blast #
When scheduling a blast for an outbound channel, select the A/B Testing button. You can then configure:
- Sample size: The percentage of your audience that will receive the test variants.
- Winning measure: The metric used to determine the winner (click rate, open rate, or conversion).
- Test duration: How long the system will run the test before automatically sending the winning variant to the remaining recipients.
- Starting date: When the test should begin.
Once the test duration elapses, the system automatically sends the best-performing variant to the rest of the audience.
Forecasts #
Forecast allows you to view at a glance how many customers will be reached based on the current schedule and the contact policies in place. Additionally, you can also see the impact a potential policy modification might have, and recalculate the forecast accordingly.
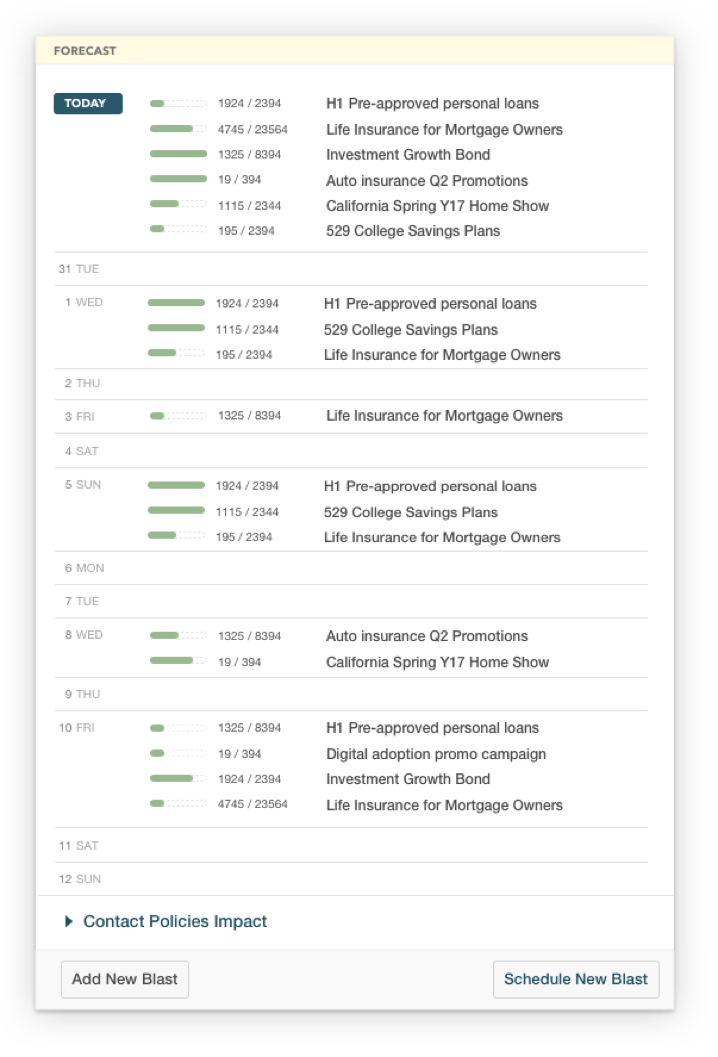
In short, the forecast provides an accurate estimation of how many actual contacts will be performed during the next 14 days, based on the outbound communication policies and active campaigns during that same period. For that reason, this section will only be useful if contact policies are defined. Otherwise, there will be no restrictions on the number and distribution lists of outbound communications, running the risk of causing a nuisance to customers.
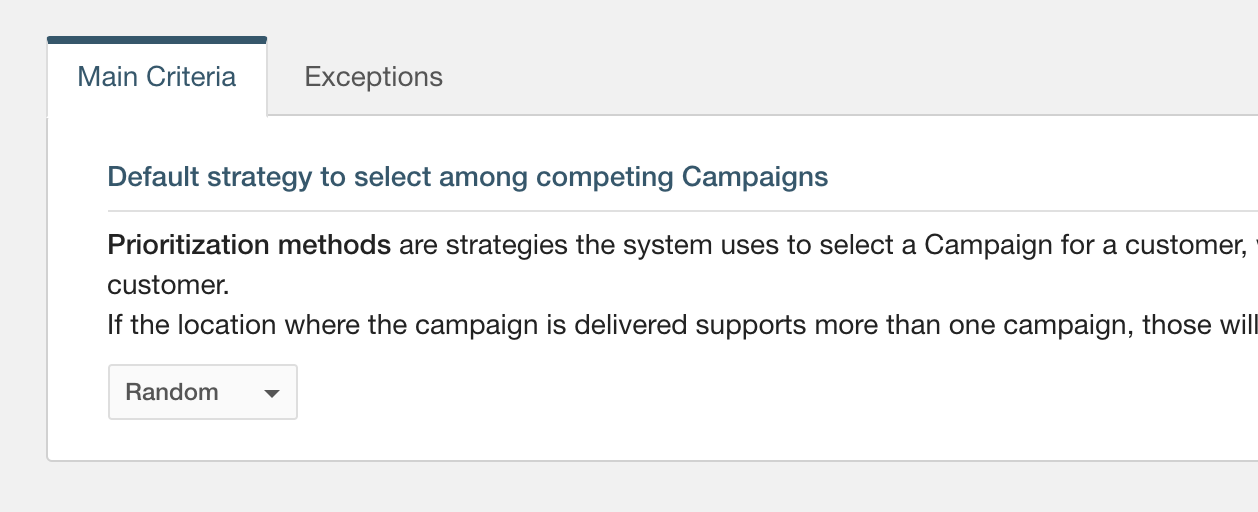
Prioritization #
Prioritization is the method or strategy used by the tool to determine which communications should be delivered to the customer when two or more campaigns apply simultaneously to the same person.
The available options are:
Random #
This alternative will prioritize randomly which communication will be sent, thus enabling the customer to receive communications from distinct campaigns at different times.
Manual #
Use this option to establish a custom order from highest to lowest priority:
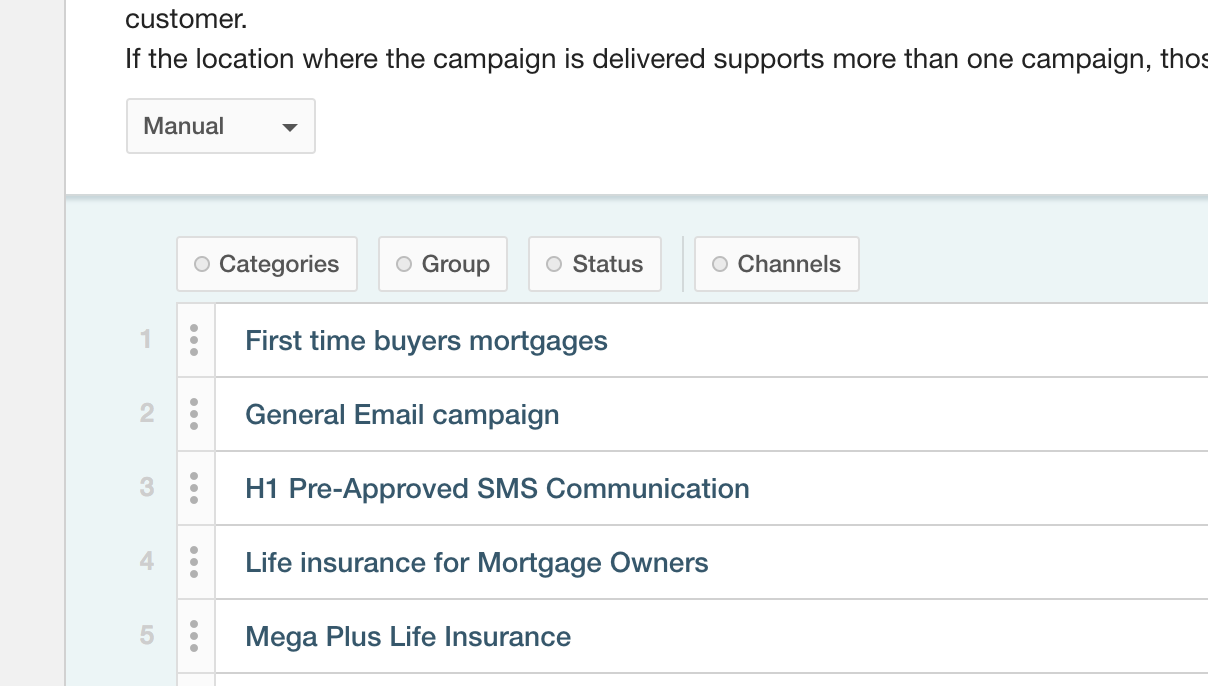
It is important to note that campaigns that are created after choosing a manual configuration are initially added at the bottom of the list. Of course, this can be rearranged at will at any time.
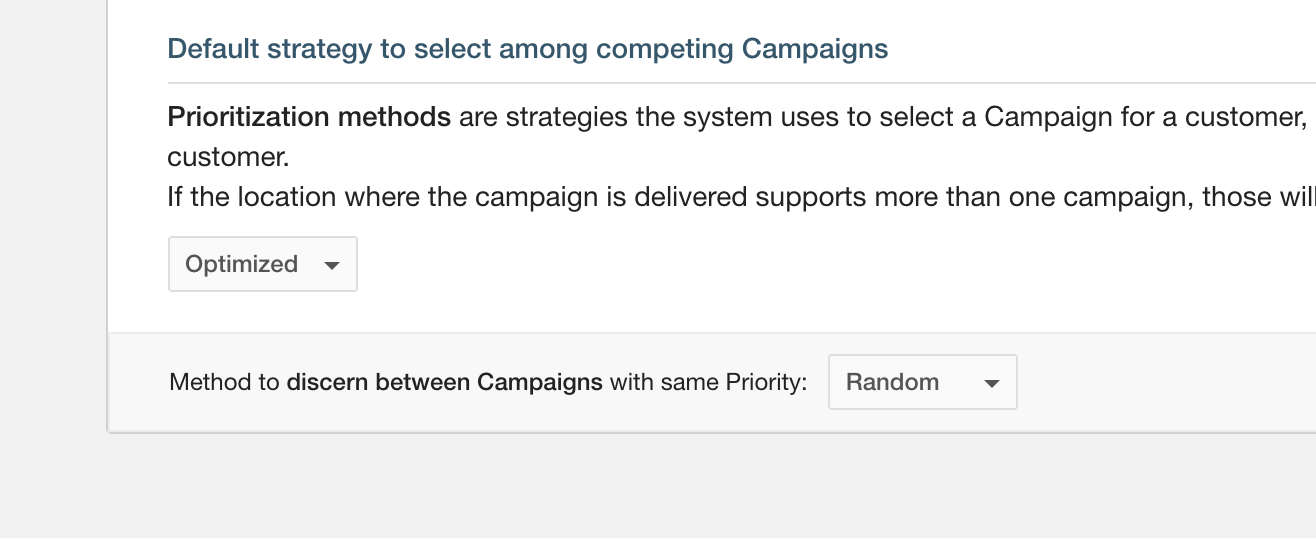
Optimized #
With this alternative, leverages machine learning (behaviors and statistics learned from the past) to define the priority according to the conversion probability of each given customer. In case of a tie, the tool will use either Random or Manual to determine the final priority.
By category #
Internally, each category has a priority. When this method is chosen, the tool will prioritize categories of higher priority (the lower the number, the higher the priority) over those with no priority assigned.
Each grouping (Category or No Category) allows, in turn, to assign a prioritization method to the campaigns found within that grouping. For example, all campaigns in a given category can use Manual (and have the priority assigned manually). At the same time, campaigns that have no category can be assigned a Random prioritization and be delivered accordingly as illustrated below:
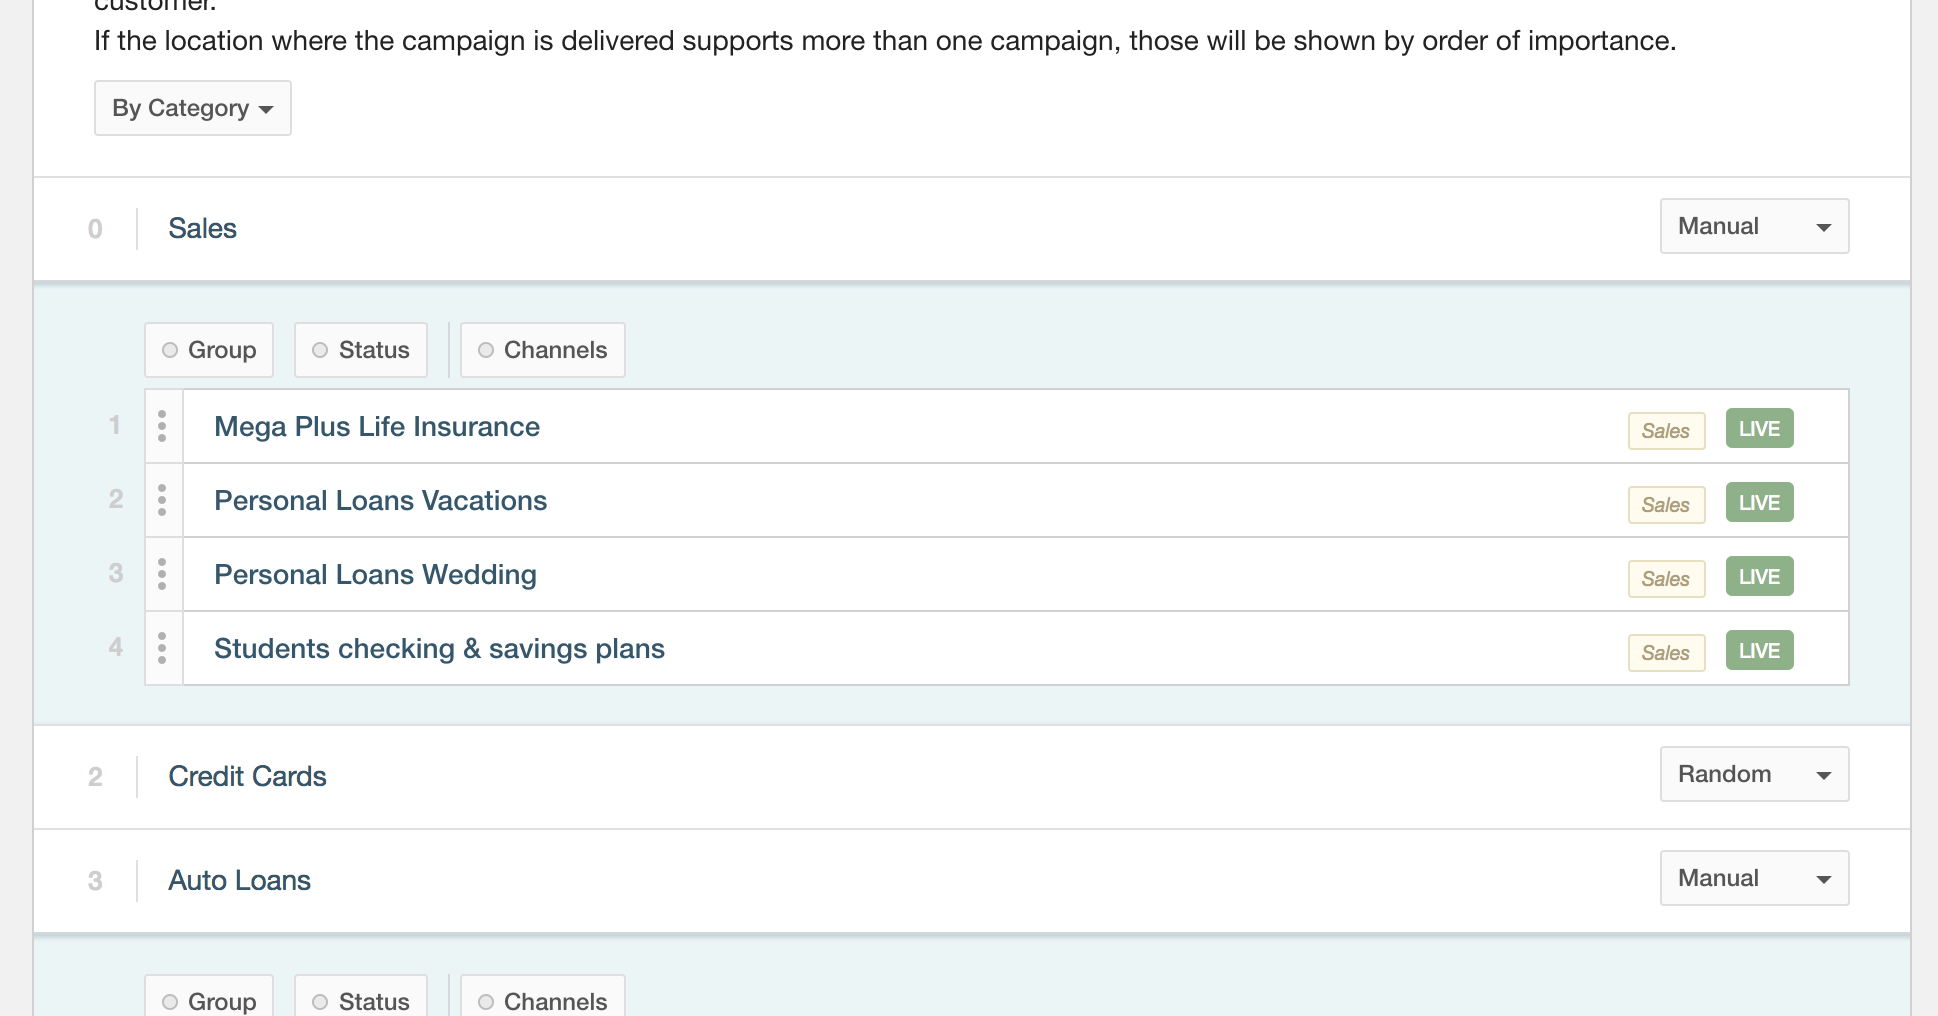
Thus, if a customer qualifies for 3 Campaigns (2 that belong to the manually prioritized category) and one campaign that does not belong to any category, the order in which they will be delivered is: 1) Manual with higher priority, 2) Manual with lower priority, and 3) Campaign without category.
Exceptions #
In addition to the method used to prioritize campaigns (Main Criteria), it is also possible to set a different one for each placeholder separately using Exceptions. To accomplish this goal, the tool allows to take into account special cases based on the location or the channel used to send the campaign communications. As we can see in the below image, for this case we must choose the placeholder where we wish to establish the priority and then indicate the strategy type we wish to apply to it.
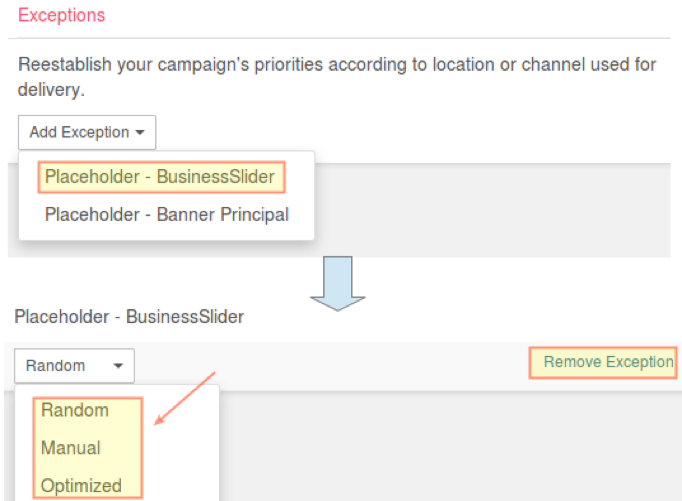
In the above image, we can also see that exceptions can be removed by clicking on Remove Exception if needed.